Issue #3: The keel joint.
The need to change insurers drove the requirement to have a Survey. Old mate Mike Elton is a tough Surveyor who states it like it is. He has surveyed 'Just Jo' twice and RW twice so he knows both me and the standard of work I am capable off and the boat.
 |
| Unscheduled keel removal - mast in. |
 |
| The Slaughterhouse |
 |
| Likely the original 30 year old butyl mastic sealant |
So we slip at Mid Coast Boatyard in Newcastle Yacht Club for a quick hang in the slings viewing. Out comes the 10x10" x 6ft length of lumber to test the keel joint by heaving sideways at the base of the keel to check for movement. I can see water squeezing out of the joint which indicates movement. This keel has likely never been off RW in 30 years, so after a round table with the yard team and Mike we decide to rip the keel off, replace the keel bolts and re-seat the keel in epoxy.
 |
| Original backing plates |
 |
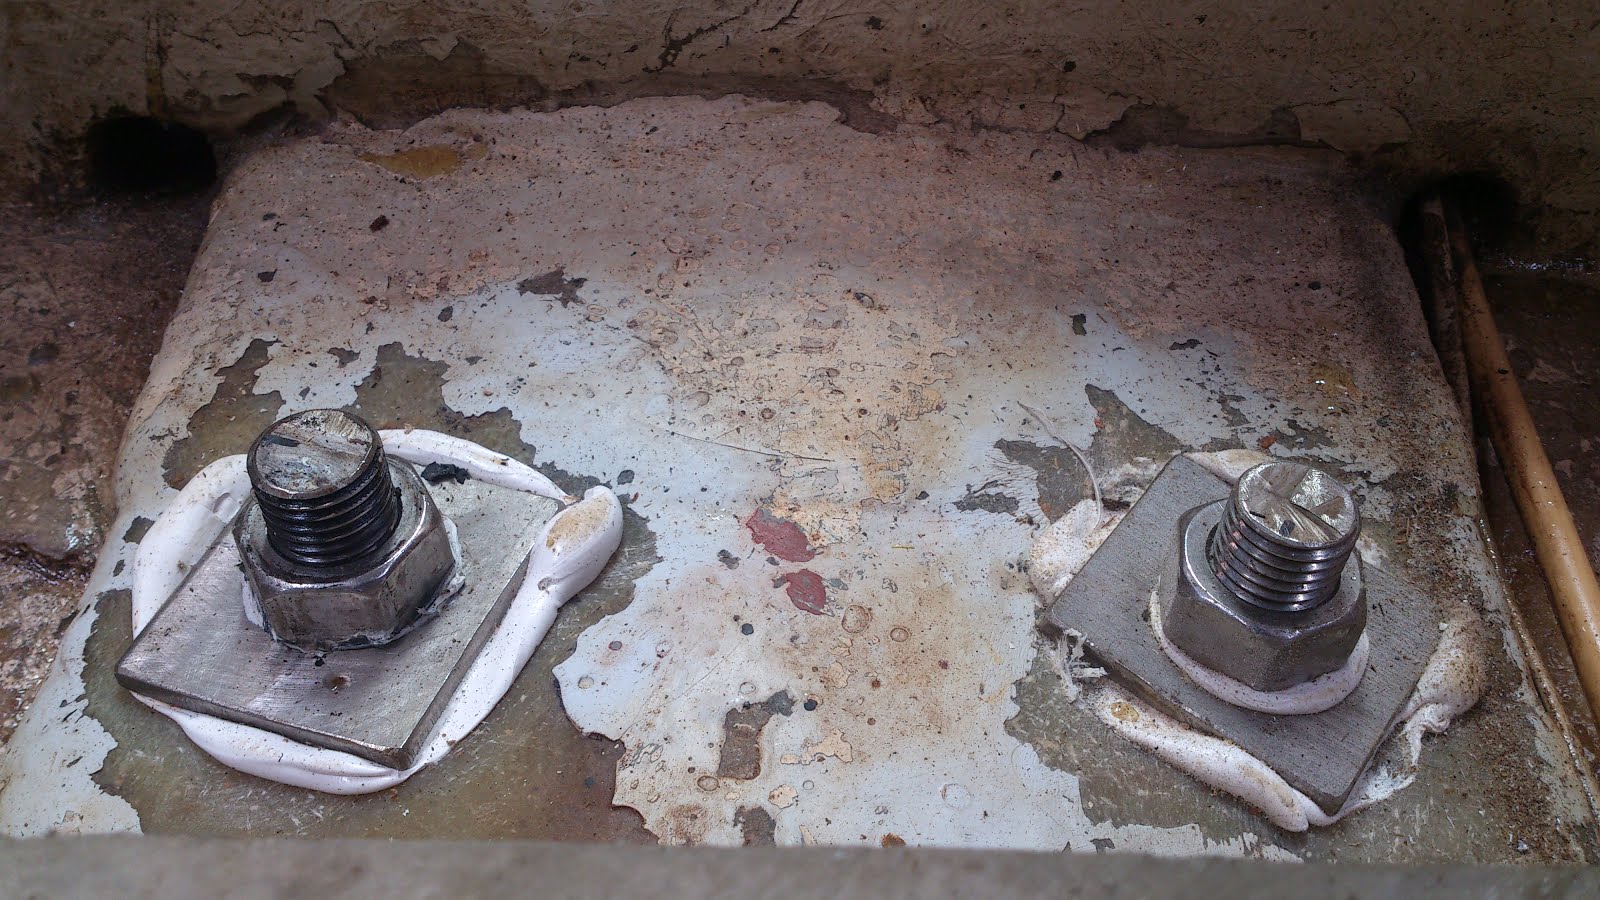
| The new SS 12mm backing plates |
Keel bolts had to be machined from a special High Tensile stainless and once again Mike came through on my behalf and requested his engineer mate to fast track the job. Mike then donated two days of his own time to assist me in dropping and cleaning the keel ready for the new bolts and backing plates. The original backing plates were individual square 3"x3"x 1/4" plates so flexing was assured.
 |
| Epoxy pads ensured an even pull across the keel bolts. |
Epoxy pads were built to ensure the plates laid flat and the keel bolt pull was in line with the keel. The purpose of the new plates is to spread the load and act as a tie-grid increasing structurally rigidity in the keel box.
 |
| My flash new keel bolts good for 30 years! |
Joe and his team at Mid Coast knew my agenda for the Solo Tasman. Joe is a gentleman and a former Olympian and Navigator for Sean Langman on his AAPT Open 66 and has raced all over the world. Joe understood the effort and cost (I was self funded) involved just to get to the start line of an international event.
 |
| Prepping for splashback |
 |
| New studs installed and set to length. |
 |
| Rudder shaft O'Ring replaced |
Joe created space in the yard schedule and the team went to work.
To keep costs in check, I took another week off work to help strip the keel and rudder off the boat and prepare for the Mid Coast team to do the pre-installation inspection and install. I needed a second week of after hours work to refit the rudder and tidy up loose ends. I cannot thank them enough.
Result: Mike and Joe spoke, I listened, we agreed and I paid!
 |
Cast Iron keel with lead forefoot marked by the chalkline.
The first Sigma 36 was quick but tender, so the lead was added for production. |


No comments:
Post a Comment