NEXT EVENT

NEXT EVENT: 2021 Rolex Sydney Hobart Yacht Race Double Handed Division

Friday, January 27, 2012

......still going....

I took an extra week off work ( thanks guys) to finish RW and today was the first day it hasn't bloody rained! Finally today I was able to start the P Bracket re-install. All the messy grinding completed and the P Bracket hole opened up a little so fresh epoxy could bond with good GRP and it was time for alignment....check once, twice..... six times and then epoxy. The shaft was centred in the stern tube rather than rely on the engine alignment; mainly because I didn't have a 27mm deep socket to raise the rear mounts. When I mated the shaft to gearbox coupling it was easy to see how the engine had sagged in its rear mounts by a good 6mm - so I just kept the shaft centrelined in the stern tube.....very conveniently with 2 x 1/4" drill bits seperated by a 9/64" bit. This made a nice little cradle for the shaft to sit in whilst maintaining perfect alignment.

Down below, the shaft also needs to be centred in the aft end of the stern tube - a little more difficult to measure, so a tongue depressor turned into a 1/4" go/nogo gauge made life easier. The final step is to ensure the P Bracket cutlass bearing slides evenly along the shaft, in and out of the P Bracket, indicating no load on the bearing. A yard stand was used to hold all in alignment and when satisfied all was ok .........I pulled it all apart so I could prep the wet out the area with epoxy! End result, the P Bracket is now in and the alignment is spot on.

Tomorrow...if the weather holds... I will glass in the underside and finish off the teak box I laminated up to encase the topside of the P Bracket. Then epoxy and fibreglass my butt off before it rains again!!

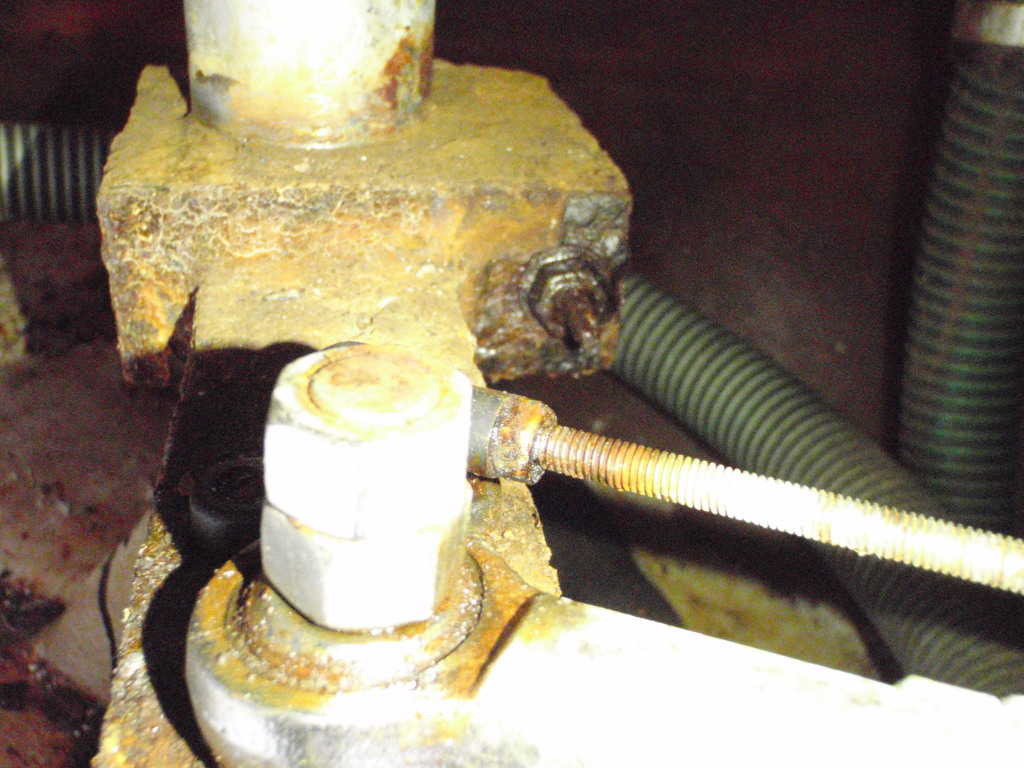
I fitted the Jefa Linear Auto Pilot drive assy yesterday and I am extremely happy with the result. It certainly looks industrial size on my little 36 footer! Will wire it up up once back at the mooring. Took the opportunity to clean out and tidy the aft locker under the cockpit....and remove the heater.....yes, a heater. RW has a Eberspacher diesel heater system ducted to all cabins  (worth around 5K!!!). Not sure of its condition, but hell, something to do when I retire and want to sail to Tassie!   Finally I have finished the seacocks and nearly all hoses have been replaced. Shower drain will have to wait as the sole needs to come up. Also replaced a cockpit drain that needed modifying so I could install the Jefa drive. Probably the biggest win of the day was removal of the rusted keel bolt under the shower ...this baby gave me a good hour of grief as the nut was just about gone. You should try standing on one leg, leaning on an elbow with your head wedged against the dunny whilst fighting with a 3/4" breaker bar + a length of pipe for that little bit extra oomph!  Finally she relented and let go, and a new stud and washer have been cut ready to fit. The keel is nicely bolted on by 15 x M24 SS studs. As she is 29 years young and crevice corrosion is SS worst enemy, I bought 3metres of 316 M24 threaded rod and 316 nuts and made my own washers ( orig were mild steel) made from 316 plate.
The PSS dripless shaft seal arrived today and Port Stephens Sheetmetal finished making my shroud chainplates. Great service from Jamie. So while the glass is curing tomorrow, I will metal polish the top of the chainplates, reseal and install. Prop shaft, PSS seal and couplings next and then onto the antifoul sanding and a new boot top strip. All go, go go.... and the light at the end of the tunnel does not appear to be another train!

Saturday, January 21, 2012

and the work continues.....

RW has been on the hard for some TLC since 10 Jan, and if all goes to plan, will splash back 30 Jan 12.
Over the past six months I have slowly piled up a mass of parts ready to go....its a much better way than experiencing the sticker shock of buying it all the week before haul out!

So what have I been up to you ask?......the mast is out and fitment of the Selden forestay combi-box and Solent Stay has been completed with plenty of impact driver use separating parts - but surprisingly it all went quite well. New dymeena and spectra low stretch halyards have been run, an adjustable forestay toggle fitted (for adjusting mast rake) and the huge 'Blipper' radar reflector removed to lower windage aloft; a new gooseneck and vang brackets for the 20 Rodkicker have been installed and trysail track installed and obsolete crap removed from mast and boom.

While I had the mast out I found the mast T-Base (the part that locates the mast on the deck) was cracked so a new one has been installed. I always suspected the T-Base was fitted arse-about (180 degrees) and when I married up the new T-Base with the mast off the boat it was clear I was correct. There is a hole aft of the T-Base that mates with a hole in the aft side of the mast heel sheave box, so when your shrouds fails and the mast falls over, it will hinge on the pin fitted in these holes. Before installing, I built up the slight depression below the T-Base with West System epoxy so all should be well for another 30 years. Will whip the chainplates out tomorrow for a quick inspection and if all ok, the mast goes back in Mon or Tues...... depends on the wind.

The other major pain was the P-Bracket that supports the prop shaft.... there was about 3-4mm vertical movement and water was seeping out of the joint....not good. I had to replace the cutlass bearing anyway so first task was off with the prop shaft.....or so we thought. Daz came along and had a crack at that job but there was no way the coupling would budge. I later tried heat and finally the had to resort to using my thin SS cutting wheel that made short work of the separation. So with the shaft now slid back I could see masses of crevice corrosion where stagnant water had been sitting in the stern tube.......about four years worth in Malaysia, a worn shaft at the cutlass bearing and a chunk of corrosion right where the stuffing box runs! So off to D.H. Porter for a new shaft, flex coupling, shaft coupling and cutlass bearing (ouch!).


The Sigma owners manual shows a representative drawing of the P-Bracket installation and it looked like it I needed a few days to effect a repair. The bronze P-Bracket has a 200mm SS rod installed sideways through the bracket after it passes through a slot in the hull and then the whole shebang is encased in a hardwood block, some sort of glue and then glassed in. So with a drill and chisel I set to work, firstly I drilled a string of 1/4" holes and then chiseled off the top (and stink!!!!) , followed by the sides. I wasn't game to use my mini saw on the angle grinder until I knew the SS rod location. One side was dry but the other was saturated so I chiseled out the stinking wet wood first and then cut and chiseled the dry block. I have had the area drying for the past four days and will attack the repair on Monday. The rod is very loose in the hole so will re-engineer the fixing method slightly.


A new alloy tiller arm replaces the rusted chunk of mild steel that is the standard tiller lever.the seacocks are being replaced (again with help from Daz) as all but two were seized either open or shut. A new auto bilge pump and some new through hulls will ensure bilge water exits the boat.....not flow into the cockpit as they do now
New 10mm tinted perspex windows have been installed in the frames (hope I don't need to do that again in a hurry!) and the sealant curing for the past two weeks - if I have time on the hard I will refit but this job is not a priority, and besides, a minimum of 7 days is required for the Fixtech sealant to cure direct sunlight. The reason being the expansion of the perspex will break the seal if exposed before it has cured. The topsides have been polished (thanks again Daz) and I will paint the boot top so she looks the goods!

Wednesday, December 28, 2011

Sydney to Hobart 2011

What a great day at the races on Boxing Day! Walked the CYCA docks for a few hours and watched and listened to final preparations by the crews, checked out the competition between the older class of yachts similar to RW and basically soaked up the atmosphere. At 1100 h I boarded Majestic II, the CYCA chartered cat that was the only vessel (other than the start boat) permitted inside the exclusion zone. It was a beautiful sunny day with a good breeze for a beat to the heads. We followed the first start line to the first turning mark and managed to stay out of the way for the second line of starters....well mostly! Our skipper only had one indiscretion where he forced a yacht to tack early.....very colourful exchange from the foredecky who thought he was about to face plant a huge catamaran......not happy little vegemites. The pic below shows how intimate we were...I stopped taking pics as I need to peer over the rail to see if there stern cleared the side of our hull as they tacked!!


Hugo Boss was on the docks and looked magnificent. Goes to show though, Australia is also at the top of the ocean racing game with Wild Oats leading this grand prix ocean flier. 


Monday, December 19, 2011

Spectra Speed Core-to-Core Eye Splicing

I have never spliced Spectra Speed braid or any braid for that matter, only 3 strand silver or nylon mooring/anchor line. To date, the trusty old bowline has done the trick for just about any situation.

Now that RW is getting her makeover and the running gear is being upgraded to Spectra and Dymeena braid, I thought it was time to broaden my skill set just a tad, so onto the net to search for demo splicing videos. Southern Ocean Ropes had a great video on Core to Core splicing that was much more informative than their written instructions. So, tools in place I gave it a crack. A couple of crap attempts as I tried to get the measurements spot on.....short cover long core....short core long loose cover.. and so it went for about 3 beers. Finally, it all came together very well......mind you, my hands copped a flogging....who would have guessed looking at my soft office worker hands I was once a mechanic!

Once the splice was in place the hard part is milking the cover back in place. The trick being to exercise the cover before you commence the splice by sliding the cover back and forth (4-5 times) along the core for about 3-4 metres. This loosens the 32 braid cover and it is the difference between success and failure. The hard rubber mallet and 5kg dumbell are used during the milking process. After milking the cover over the splice as far as possible, beat the splice on the floor with the mallet then hook on the dumbell and shock load the eye to straighten the core.....milk the cover and so on until it all sits neatly just like this one.

 Donaghys Spectra Speed 10mm Core-to-Core Eye splice

Monday, November 28, 2011

Just a little faster....

My new Doyle Cruise Laminate and Storm sails have finally arrived! John from Doyles Sydney loft managed the project and the sails were made in their NZ loft. I just had time to hoist the main before the cruel norwester blew me off the water on the weekend. The main has three leech battens and two full length battens running on Ronstan Ballslide cars, a Cunningham and two large reefs. I need to do some work on the mast gate to accommodate the slides but otherwise she hoisted by hand very easily. Rowed out and snapped a few pics without battens and she looks fantastic sailing on her mooring.

To compliment the new sails I installed new dymeena halyards and racing braid genoa sheets. Still practicing hi-tech braid splices (there's a few depending on the product). Next will be reefing lines. I was able to reduce all my specified line diameters by using hi-tech FSE Robline Dymeena, Usacord Racing Braid and Donaghys Spectra Speed braid products.


The cabin sole is now 95% done with only the floor anchors and nav seat floor to go. As soon as I clear the cabin sole of gear so you can actually see the sole, I will post a pic or two. I am very satisfied with the transformation of the cabin. As soon as I replace my crazed windows and I know the damn things won't leak on the saloon bench seats, I will replace the foam to make it more comfortable and re-trim the cabin....well I'll see what a quote or two comes back with first and if horrified, will break out my Sail Rite sewing machine and have  a crack myself....hell, its not like I'm busy!!

Tuesday, November 22, 2011

Cabin sole upgrade


Spent Saturday in the boatshed (Relles garage) adhering the Lonseal Mahogany and Holly vinyl to the marine ply sole. Prep was straightforward, sand with 60 grit, acetone wipe followed by a wipe with alcohol. I then set about completing a test piece by spraying with Ardex AF152 Sheet Vinyl Adhesive, wait 2 hours for it to tack off, wipe the sheet with alcohol and then lay in position. Next was the 3 section, 100lb steel roller! Damn that sucker was heavy.....poor little Kia certainly knew it was in the boot. I am glad I hired the roller from Kennard Hire, as it without it there is really no way you can effectively get the pressure required to set the vinyl onto the adhesive. Once happy,  I completed the remaining pieces and she looked a treat.

 Sunday was spent on my knees replacing the sole support strips that I previously treated with wood preservative so they would not rot away as they had done before. Laid the new sole and fitted a few lifting latches to make removal easier. after I change out the SS Keel Bolts and washers and paint the bilge with 2 pack. I can then install the PYI Floor Anchors - a quarter turn SS Zud style fastener that sits flush. I will then be IASF compliant for fixed floorboards.


Tuesday, November 8, 2011

Early Christmas!

The Jefa Alloy Tiller Lever and Autopilot linear drive have arrived and look to be quality products. The lever will replace the mild steel lever that was once epoxy coated but is now rusting away. The linear drive will provide better thrust and is far more robust than a wheel pilot belt drive. Best part is I can leave the wiring and fittings in place for the wheel drive whilst removing the drive mechanism so i can readily re-install if the primary linear drive ever craps itself. Third redundancy is the Hydrovane and fourth the Sea Squid!

                                      
The original 1983 rusted steel tiller lever showing the tie rod end  and rudder reference take-off.

 The flash new Jefa Hi Tensile Alloy Tiller lever, custom machined at no extra cost. Great service from Jefa so I bought one of their Linear drives below! The arm to the left is telescopic whilst the one to the right is fixed. The tierod pins all match the new arm so installation should be reasonably straight forward once dimensions are calculated.
My KISS HF counterpoise antenna ground arrived last week. This system replaces the need to run copper foil to a Dyna Plate though bolted to the hull and constantly immersed in seawater. Tuned lengths of wire run inside a 1" plastic tube and are connected to the auto antenna tuner and then run forward down both sides of the hull, reflecting the backstay HF antenna. Reports indicate the system works extremely well and exceeds performance of the ground plate system.......we shall see once the HF Radio has been procured and installed. I did find an old SEA HF (Oz compliant) on eBay, but went to dinner and could not get the last bid down in time.....it went for $580.00! (curry was too good to leave!). Probably fortunate really, as I knew the Offshore Racing Rules would require me to eventually have a DSC capable HF, but no one could tell me what year this would come into effect, so the SEA was a good, cheap stop-gap solution.

Well wouldn't you know.....Yachting Australia released new info the next day! All new installations post 01 Jul 2014 must be DSC capable and all yachts must have HF DSC by 01 Jul 2017. SATPHONE regs were also introduced and are welcome, as new technology can provide excellent SAT coverage and text messaging at minimal cost. The Notice of Race can now state if a SATPHONE can be used in lieu of HF. I prefer if every vessel can hear me if I am in distress so I will use HF and when offsore back up with an Iridium SATPHONE.